
Jawline Filler Before and After: What Really Changes in Your Profile
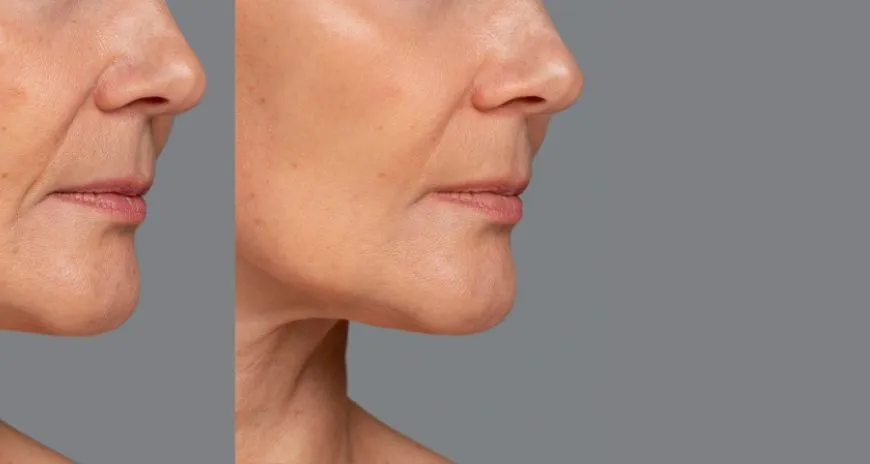
Jawline filler before and after photos tell you far more about the treatment than any product description can. A sharper jaw is only part of the story. The real change happens in how the chin, jaw angle, and neckline work together to reshape your entire side profile. Yet most patients search for these results without knowing what actually shifts beneath the surface, how long the transformation takes to settle, or which factors decide whether their own results will be subtle or dramatic. This guide walks through what genuinely changes after treatment, the realistic timeline behind those changes, and how to read your own progress with a more informed eye.
What Does a Defined Jawline Actually Look Like After Filler?
Most patients expect a dramatic difference, but the best results are often subtle and natural. A defined jawline typically shows a cleaner line from ear to chin, less shadowing under the jaw, and a more angular transition between the neck and face. The goal is proportion, not exaggeration. Photos taken from the front and side usually show the biggest difference, since the jawline plays a major role in how the face reads from these angles.
Factors That Influence Your Before and After Results
Several elements shape how visible your transformation will be:
- Starting bone structure and jaw shape
- Amount of natural volume loss or jowling before treatment
- Skin elasticity and thickness
- Type and volume of filler used during your session
- How closely you follow aftercare guidance in the days after treatment
Patients with more volume loss or a naturally softer jawline often see a bigger visible change than those starting with strong bone structure. Neither outcome is better or worse the treatment simply adapts to what each face needs.
The Areas That Change Most After Treatment
Chin Projection
A weak or recessed chin often makes the jawline look less defined than it actually is. Adding filler to the chin point creates better balance with the rest of the face and often improves the jawline’s appearance even without direct injection there.
Jaw Angle Definition
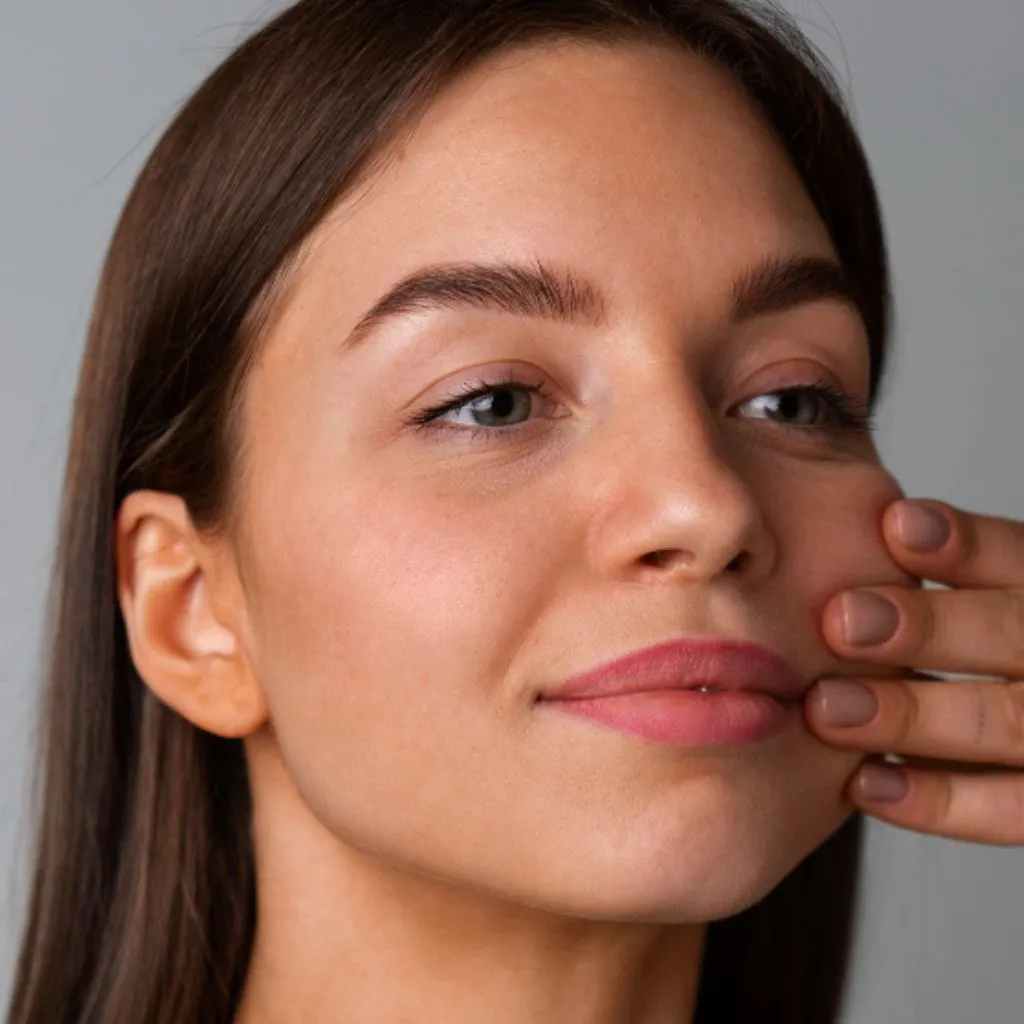
Filler placed along the jaw angle sharpens the transition from cheek to chin. This is usually where patients notice the clearest before and after difference, especially in three-quarter and side profile shots.
Jowl Reduction
Filler along the jawline can visually lift and smooth sagging skin near the lower face. Rather than removing tissue, it redistributes volume to restructure the jawline and reduce the appearance of jowls.
Facial Balance from Front and Side Profile
Since the jaw connects the face to the neck, small adjustments here often change how the entire lower face looks. Many patients notice their cheekbones and chin appear more proportionate once the jawline is better defined.
Immediate Results vs Final Results: Understanding the Timeline
Swelling affects how the treated area looks in the first few days, so initial photos rarely reflect the final outcome. Most patients see noticeable definition right after their session, but the true result settles over the following two weeks as swelling resolves and the filler integrates with surrounding tissue. Comparing day-one photos to two-week photos usually shows a meaningful difference, since the jawline continues to refine as the filler settles into place.
Realistic Expectations: What Jawline Filler Won’t Change
Filler restructures and adds definition, but it does not replace surgical jaw contouring for patients seeking permanent, dramatic changes. It also won’t correct significant skin laxity on its own. Patients with more advanced sagging sometimes combine jawline filler with other treatments for a fuller result. Setting realistic expectations before treatment helps ensure your before and after comparison feels like a genuine improvement rather than a disappointment.
How to Track Your Own Before and After Progress
Good before and after comparisons rely on consistency. Keep these tips in mind if you want to track your own results:
- Take photos in the same lighting and from the same angles each time
- Avoid makeup or contouring products that can distort the jaw’s natural shadow
- Photograph front, side, and three-quarter angles for a complete picture
- Wait at least two weeks before comparing final results, once swelling has fully resolved
- Revisit your photos at the one-year mark to track how gradually the filler settles
Reviewing photos with your practitioner during a follow-up visit also helps identify whether any touch-up is needed to maintain your results.
See Your Own Jawline Transformation
The best way to understand what jawline filler can do for your profile is to see it applied to your own facial structure. Dr. Sima assesses your bone structure, skin quality, and goals before recommending a plan designed around your face. If you’re ready to explore what real change could look like for you, learn more about jawline filler in Dubai or book a consultation with Dr. Sima’s clinic today.
For patients recovering from treatment, our jawline filler recovery and aftercare guide covers what to expect in the days after your session, while our full dermal filler range shows other ways to restore volume and balance across the face.
FAQs
Most patients notice visible definition immediately, though final results appear once swelling fully resolves after about two weeks.
Yes. When filler is placed carefully along the jaw's natural contours, results typically look proportionate rather than overdone, both in person and in photos.
Slightly. Cameras can flatten or exaggerate shadows, so your practitioner will often assess results in natural light during your consultation and follow-up.
Quick Links
Certified Endolift Specialist
at Dynasty Clinic
Copyright © 2026 Dr. Sima . All Rights Reserved. Developed by Digital Marketing Agency in Dubai